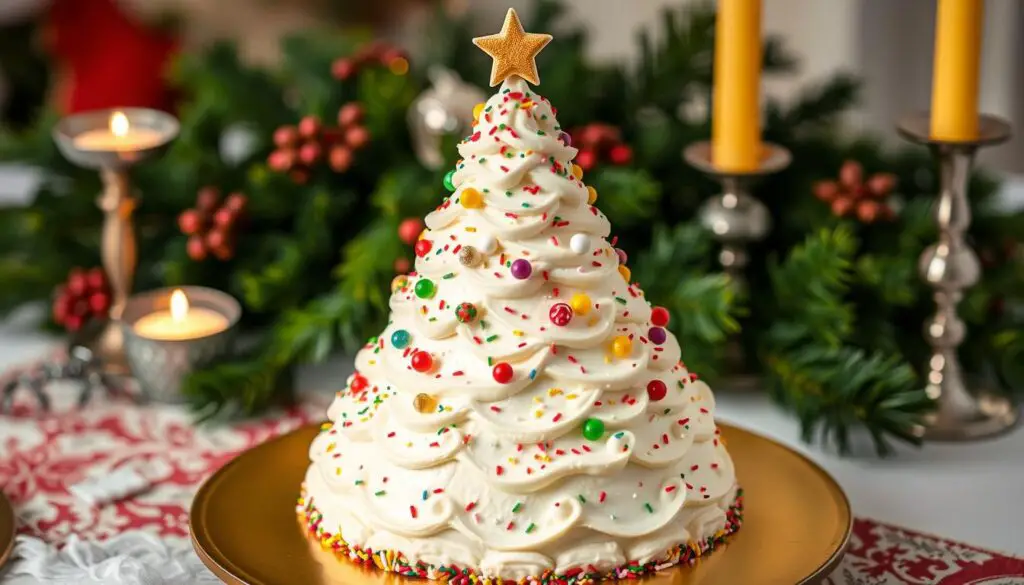
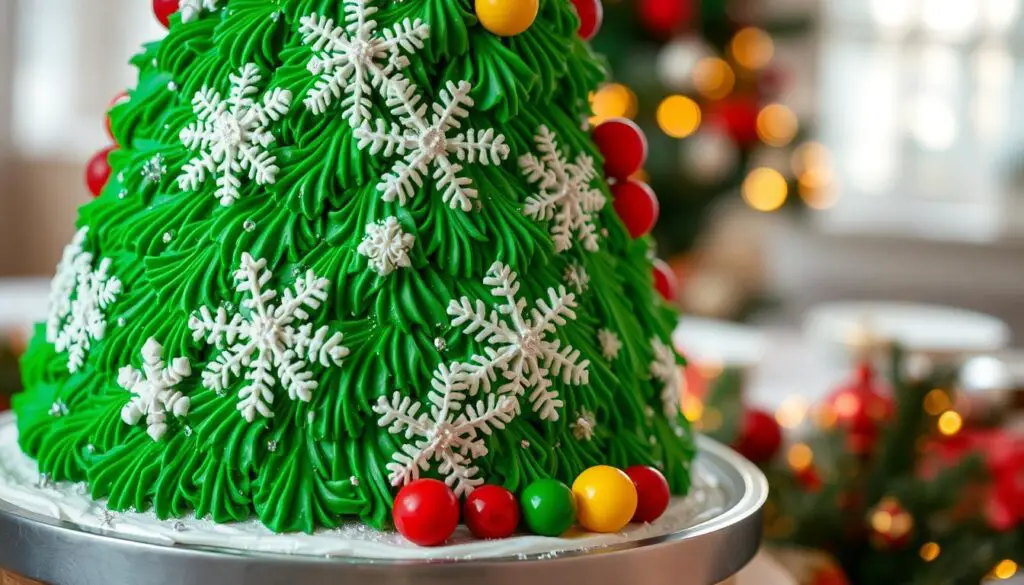
- Sprinkle some magic on your holiday table with these homemade Christmas tree cakes! They’re easy to bake, endlessly customizable, and oh-so-festive. Perfect for making memories (and a little mess) with family and friends. 🎄✨
As the holiday season comes near, I miss the cozy traditions of this time. Decorating the Christmas tree with my family was always a highlight. Each ornament told a story or held a special memory. I’ve kept this tradition alive in my home, now with a tasty twist – homemade Christmas tree cakes!
Making these festive treats in my kitchen is magical. Their green colors and detailed decorations capture the holiday spirit. They look amazing and taste even better. Unlike store-bought cakes, these homemade ones let you add your own special touches.
Table of Contents

Key Takeaways
- Homemade Christmas tree cakes offer a personalized and delicious way to celebrate the holiday season.
- These festive treats are visually stunning, with lush green hues and intricately decorated.
- Compared to store-bought options, homemade Christmas tree cakes provide a level of customization and personal touch that makes them truly special.
- The rich, moist cake and creamy frosting are an absolute delight for the senses.
- Creating these homemade Christmas tree cakes is a cherished tradition that can be shared with family and friends.
Why Christmas Tree Cakes Are Perfect for Holiday Celebrations
The festive season wouldn’t be complete without the iconic Christmas tree cake on our holiday tables. These edible masterpieces have become a beloved tradition. They have become cherished symbols of the most wonderful time of the year. But have you ever wondered about the origins and cultural significance of these holiday tree cakes?
The History Behind Christmas Tree-Shaped Desserts
The tradition of creating tree-shaped cakes and pastries dates back to the 16th century. This was when the Christmas tree became a central figure in European holiday celebrations. As the evergreen tree became a symbol of life and renewal, bakers started crafting sweet replicas.
Over the centuries, these holiday tree cakes have evolved. Different cultures and regions have put their own unique spin on the classic design.
Cultural Significance of Tree-Shaped Holiday Treats
From the towering festive tree cake at the center of a family feast to the delicate, bite-sized edible christmas tree cake served as a special dessert, these holiday tree cakes hold deep cultural significance. In many countries, they are seen as a representation of the eternal cycle of nature. They symbolize the seasonal rebirth that the winter solstice ushers in.
Decorating these holiday tree cake creations has become a cherished tradition. Families often gather to trim their homemade versions with an array of edible ornaments and toppings.
As we gather with loved ones to celebrate the season, these festive tree cakes serve as a delightful centerpiece. They unite us in a shared appreciation for the rich history and cultural significance of these beloved holiday treats.
Essential Ingredients for Your Christmas Tree Cake
Making the perfect christmas tree cake recipe starts with the right ingredients. Whether you’re an experienced baker or new to making homemade christmas tree cakes, knowing the key ingredients is vital. Let’s explore the must-haves for your festive cake.
The cake’s heart is, of course, the cake itself. You’ll need basics like all-purpose flour, granulated sugar, baking powder, salt, and eggs. You can also add vanilla extract, almond extract, or spices like cinnamon or nutmeg for extra flavor.
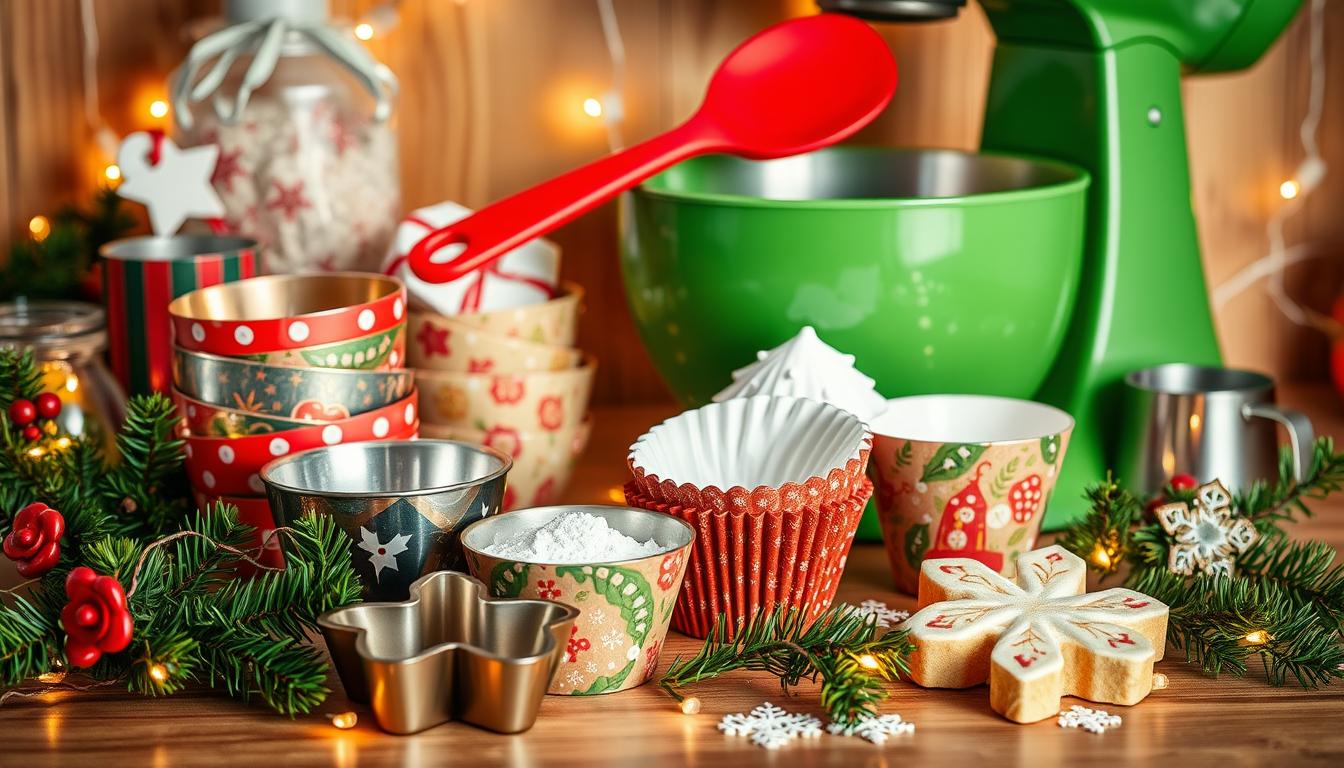
To get that tree shape, you’ll need special tools. A good Christmas tree cake pan or mold is a must. It lets you bake the cake in the right shape. You’ll also need dowel rods or wooden skewers for support.
Frosting and decorating your homemade christmas tree cakes is where the fun begins. You can use buttercream, cream cheese frosting, or chocolate ganache. Make sure you have green food coloring for that holiday look.
For extra festivity, gather various edible decorations. Think colorful sprinkles, crushed candy canes, fondant shapes, and dragées. These can make your christmas tree cake recipe truly special.
With these ingredients, you’re ready to make a stunning and tasty christmas tree cake. It will impress your guests and be the highlight of your holiday.
Tools and Equipment You’ll Need for Baking Success
Baking Christmas tree cakes is an art. The right tools and equipment are key. Whether you’re experienced or new to holiday baking, here’s what you need for perfect tree-shaped cakes.
Recommended Baking Pans and Molds
The base of your Christmas tree cake is the pan or mold. For a classic look, get a tree-shaped cake pan or mold. They come in various sizes for different cakes.
You can also use tiered round cake pans or Bundt pans for a tree shape.
Decorating Tools Checklist
- Piping bags and tips for detailed designs
- Offset spatula or butter knives for frosting
- Turntable or cake stand for decorating
- Edible decorations like sprinkles and candies
- Food coloring or gel pastes for colors
- Toothpicks or skewers for details
Storage Equipment Essentials
After baking and decorating, you need the right storage. Get a sturdy cake carrier or dome for transport and storage. Also, use cake boxes or airtight containers to keep your cake fresh.
With the right tools, you’ll make stunning tree-shaped cakes for your Christmas tree cake decorating events. Happy baking!
Step-by-Step Guide to Homemade Christmas Tree Cakes
Are you ready to become a pastry chef and make a festive masterpiece? Get ready to bake a delightful diy christmas tree cake that will impress your guests. Follow this easy christmas tree cake tutorial, and you’ll become a holiday baking hero.
- Preheat your oven to 350°F (175°C) and grease your baking pans or molds. Use a triangular or cone-shaped pan for a tree-like shape.
- In a large mixing bowl, mix together the dry ingredients: flour, baking powder, and a pinch of salt. Whisk until well combined.
- In another bowl, cream the softened butter and granulated sugar until fluffy. Add the eggs one at a time, then the vanilla extract.
- Fold the dry ingredients into the wet mixture, adding milk in between, until smooth.
- Pour the batter into your prepared pans, filling them two-thirds full.
- Bake for 25-30 minutes, or until a toothpick comes out clean. Let the cakes cool completely before handling.
After cooling, start assembling your diy christmas tree cake. Trim the tops for a flat surface. Stack the layers, using frosting to hold them together. Smooth the frosting for a tree-like shape.

Now, decorate your cake! Pipe on frosting swirls, sprinkle crushed candy canes, or use edible ornaments. Let your creativity shine!
Creating the Perfect Tree Shape: Cutting and Assembly Tips
Making a Christmas tree cake is an art. It requires a few simple steps and layering techniques. You can make a stunning tree-shaped cake that will be the highlight of your holiday.
Template Guidelines
First, pick the right christmas tree cake designs template. Think about the size, style, and how many guests you’ll have. Templates can be simple or complex, depending on what you like.
- Choose a template that fits your cake pan and baking needs.
- Make sure the template has clear measurements for easy cutting and assembly.
- Adjust the template if you want to add special touches to your cake.
Layering Techniques
Layering is key for a sturdy, beautiful tree-shaped cake. Here are some tips for a stunning and stable holiday dessert:
- Bake the cake layers in the right shapes, making sure they’re even.
- Trim the cake tops with a serrated knife for a slope from bottom to top.
- Stack the layers carefully, aligning them for a triangular shape. Hold them together with frosting.
- Try different layering methods, like offsetting layers or using dowel rods, for a unique look.
Mastering cutting and assembling your tree-shaped cake will lead to a fantastic holiday centerpiece. It will be both impressive and delicious.
Frosting Techniques for a Professional Finish
Getting a perfect finish on your homemade christmas tree cakes is all about the right frosting techniques. You can choose from smooth, elegant looks to textured, rustic styles. Each frosting option can make your cake decorating stand out.
Buttercream is a favorite for christmas tree cakes. It’s creamy and can be colored to fit your theme. You can pipe or smooth it for a clean look. For texture, use a small offset spatula to make swirls or peaks.
Cream cheese frosting is another great choice. It’s tangy and rich, perfect with sweet cake. You can smooth it for a sleek finish or pipe designs around the “branches.”
For a modern look, try ganache frosting. It’s glossy and chocolatey, creating a smooth finish. You can layer different colors for a striking effect.
Choose your frosting wisely and apply it carefully. Chilling the cake between layers and using the right tools are key. They make a big difference in your cake’s look.

With practice and detail, your christmas tree cakes can look pro-made. Be creative, try different frostings, and let your holiday baking dazzle!
Creative Decorating Ideas for Your Tree Cake
Let your creativity shine and turn your homemade Christmas tree cake into a masterpiece! You can choose from bright colors to fun themes. These ideas will make your cake a hit with your guests.
Color Schemes and Themes
The color of your Christmas tree cake is like a blank canvas. Go for the traditional red and green for a classic look. Or, try blue and silver for something modern and fancy. Add some metallic touches like gold or silver for a luxurious sparkle.
Want a special theme for your cake? Try a winter wonderland with snowflakes and edible “snow.” Or, go for a rustic look with pine, burlap, and wood.
Edible Decorations Options
- Candy canes, gumdrops, and colorful candies for a fun, sweet look.
- Sprinkles, nonpareils, and sanding sugar for extra sparkle and texture.
- Fondant or modeling chocolate to make detailed ornaments and bows.
- Edible flowers like sugared cranberries or candied rosemary for a fancy touch.
To make your christmas tree cake designs pop, mix and match decorations. Make sure they all work together to make your christmas tree cake decorating stand out. Let your creativity run wild!
Storage and Make-Ahead Tips for Christmas Tree Cakes
As the holidays get closer, it’s key to plan how to store and prepare your Christmas tree cakes. A few easy tips can help keep your cakes fresh and looking great all season.
For the best taste and quality, store your cake in an airtight container at room temperature. If your cake is frosted or decorated, refrigerate it. This keeps the frosting from melting and the decorations from fading. Let the cake come to room temperature before serving to enjoy its full flavor and texture.
If you’re short on time during the holidays, baking your cake ahead can be a big help. You can bake the cake layers up to a month before your event. Just wrap them well in plastic wrap or foil and freeze. To assemble, thaw the layers in the fridge overnight, then frost and decorate as usual.
FAQ
What is the process for making homemade Christmas tree cakes?
Making homemade Christmas tree cakes starts with baking the cake. Then, cut it into a tree shape. Decorate it with frosting, sprinkles, and festive toppings. It’s a fun way to create a unique holiday dessert.
What are the key ingredients needed for Christmas tree cakes?
You’ll need flour, sugar, butter, eggs, baking powder, and vanilla extract. Green food coloring or fondant is also needed for decorating.
What tools and equipment are necessary for baking and decorating Christmas tree cakes?
You’ll need baking pans in tree shapes, frosting bags, and decorating tools. Offset spatulas and sprinkles, edible glitter, and fondant tools are also essential.
How can I achieve the perfect tree shape for my homemade Christmas cake?
Start with a rectangular or square cake. Use a template to cut out the tree shape. Stack and layer the cake pieces to build the tree, ensuring stability and even distribution.
What are some creative decorating ideas for Christmas tree cakes?
Use different colored frostings or fondant for a colorful tree. Add edible ornaments like candy canes or gumdrops. Sparkly sprinkles or edible glitter add holiday shimmer.
How can I store and preserve my homemade Christmas tree cake?
Store it at room temperature for 3-4 days, or refrigerate for up to a week. Freeze unfrosted cake layers for longer storage. Thaw and decorate closer to the holiday.
