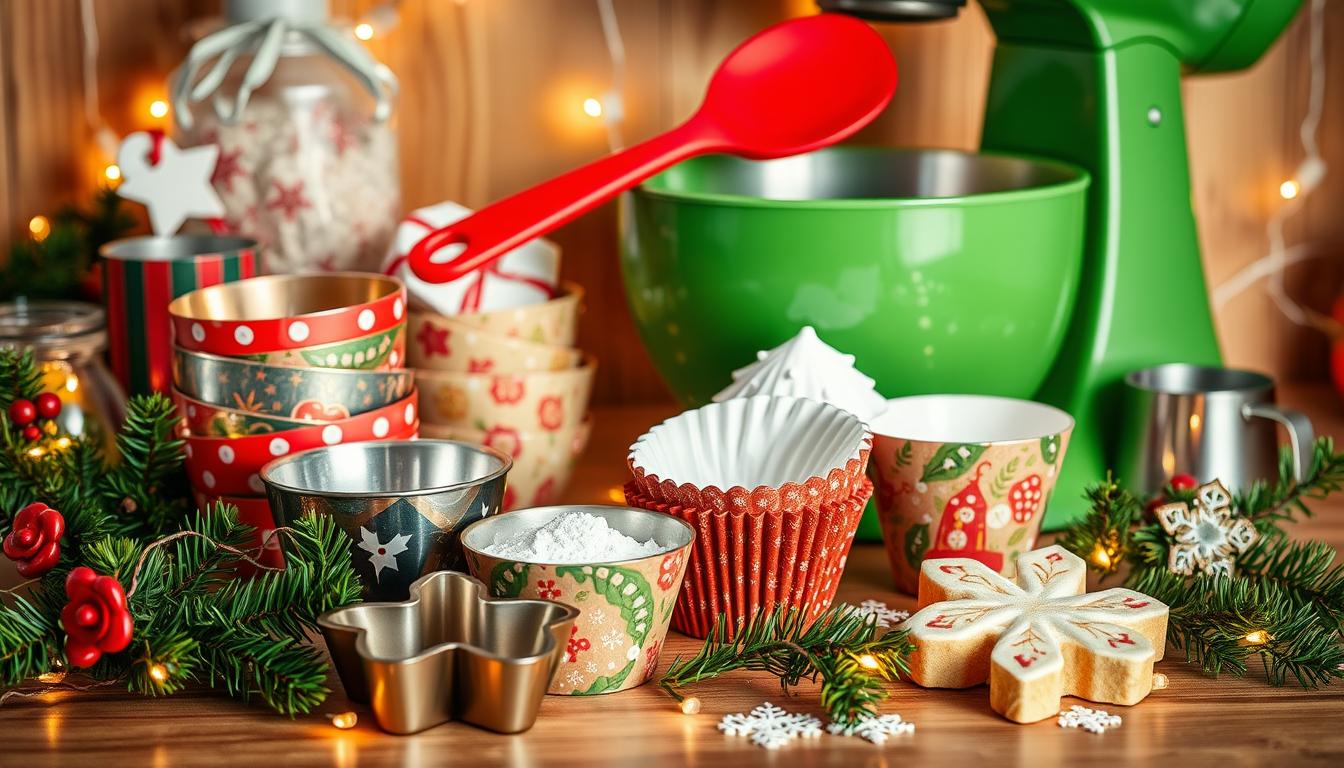
- Get ready for a festive treat! This homemade Little Debbie Christmas Tree Cake recipe brings joy and nostalgia to your holiday season. With a fluffy white cake, signature cream filling, and festive green frosting, you’ll be creating your very own Christmas tradition in no time. And don’t forget to top them off with sprinkles for that magical, tree-like touch!
Little Debbie Christmas Tree Cake Recipe : As winter arrives and the holiday season nears, Little Debbie Christmas Tree Cakes bring back memories. These festive treats were a big part of my family’s holiday traditions. They were a special treat that brought us together.
Now, I’m excited to share how to make these cakes at home. You can enjoy the holiday flavors and make your own special memories.
Table of Contents
Key Takeaways
- Discover the history and tradition behind Little Debbie Christmas Tree Cakes
- Learn the essential ingredients needed to make homemade versions of this classic holiday treat
- Explore the kitchen equipment and tools required for baking and decorating the cakes
- Follow a step-by-step recipe to create the perfect white cake base, creamy filling, and signature tree shape
- Uncover tips and techniques for achieving professional-level decorating results
- Understand proper storage and shelf life for your homemade Christmas Tree Cakes
- Enjoy the satisfaction of crafting a beloved holiday favorite in your own home
The History Behind Little Debbie Christmas Tree Cakes
For many families, Little Debbie Christmas Tree Cakes are a holiday tradition. But have you ever wondered where they came from? Let’s explore the history of these Little Debbie holiday treats.
Origins of the Iconic Holiday Treat
The Little Debbie Christmas Tree Cakes were introduced in 1985. They quickly became a favorite for many. McKee Foods Corporation, the Little Debbie brand’s creators, made them.
The idea for these cakes was to offer a special holiday snack. The tree shape and decorations were meant to bring holiday cheer. They aim to capture the cozy feelings of the season.
Why These Cakes Became a Christmas Tradition
- Convenience: They come wrapped and ready to eat, making them easy for families.
- Nostalgia: For many, they bring back happy childhood memories and holiday traditions.
- Versatility: You can enjoy them as a snack, dessert, or in holiday gift baskets. They’re perfect for any Little Debbie holiday treats spread.
Over the years, Little Debbie Christmas Tree Cakes have become a big part of the holiday for many families. Their lasting popularity shows how a simple treat can capture the holiday spirit.
Essential Ingredients for Homemade Christmas Tree Cakes
Making your own Christmas Tree Cakes at home is a fun holiday activity. You can choose to make the cake from scratch or use a boxed mix. The main ingredients are the same, but let’s look at what you need to get that special flavor and festive look.
Scratch-Made Cake Base
For a homemade cake base, you’ll need the following ingredients:
- All-purpose flour
- Granulated sugar
- Baking powder and baking soda
- Salt
- Unsalted butter
- Eggs
- Milk
- Vanilla extract
Boxed Cake Mix Alternative
Want a quicker option? Use a boxed cake mixes. Choose a white or yellow mix. Make sure you have the extra ingredients like oil, eggs, and water.
Signature Cream Filling
The creamy filling is what makes Little Debbie Christmas Tree Cakes special. It’s made with:
- Shortening or butter
- Powdered sugar
- Vanilla extract
- Salt
Decorative Toppings
To get the classic Christmas tree look, you’ll need:
- Green food coloring or gel
- Vanilla or almond frosting
- Sprinkles, nonpareils, or other festive decorations
With these ingredients, you’re ready to make your own version of these beloved holiday cake recipes. They’re a tradition in snack cakes.
Kitchen Equipment You’ll Need
Baking homemade easy Christmas baking and festive desserts like Christmas Tree Cakes needs the right tools. You’ll need baking tools, decorating essentials, and storage solutions. These will help you make these delightful holiday treats at home.
Baking Tools and Supplies
- Mixing bowls: Get a set of high-quality, stainless steel or glass bowls in different sizes. They’ll fit your baking needs.
- Electric hand mixer or stand mixer: These appliances will quickly mix the cake batter and cream filling.
- Measuring cups and spoons: Accurate measurements are key for consistent results. Invest in a reliable set of measuring tools.
- Baking pans: You’ll need a sheet pan or jelly roll pan for baking the cake layers. Also, a knife or cookie cutters to shape the trees.
- Parchment paper: Line your baking pans with parchment paper. It makes cake release and clean-up easy.
Decorating Equipment Essentials
- Piping bags and tips: Use these to neatly apply the cream filling and decorate the cakes with festive patterns.
- Offset spatula: This tool helps you smoothly spread and level the frosting on the cakes.
- Food coloring: Add holiday cheer with red and green food coloring to tint the cream filling or frosting.
- Sprinkles or edible decorations: Top your Christmas Tree Cakes with holiday-themed sprinkles or other edible decorations.
Storage Containers
After baking, filling, and decorating your Christmas Tree Cakes, you’ll need airtight storage containers. Look for plastic or glass containers with tight-fitting lids. They’ll keep your homemade treats fresh and moist until you’re ready to enjoy them.
| Baking Tool | Description | Importance |
|---|---|---|
| Mixing Bowls | Stainless steel or glass bowls in various sizes | Accommodate different stages of baking process |
| Electric Mixer | Hand mixer or stand mixer | Efficient mixing for cake batter and cream filling |
| Measuring Tools | Measuring cups and spoons | Ensure accurate ingredient measurements |
| Baking Pans | Sheet pan or jelly roll pan | Bake cake layers and shape the trees |
| Piping Bags | With various piping tips | Decorate the cakes with precision |
With the right kitchen equipment, you’ll be ready to make easy Christmas baking and festive desserts. They’ll impress your family and friends this holiday season.
Little Debbie Christmas Tree Cake Recipe
Making Little Debbie Christmas Tree Cakes at home is simple. Follow this easy recipe to make the holiday treat yourself. Enjoy the classic flavors of the Little Debbie Christmas Tree Cake, with its moist cake, creamy filling, and festive frosting.
Ingredients:
- 2 cups all-purpose flour
- 1 1/2 teaspoons baking powder
- 1/2 teaspoon salt
- 1/2 cup unsalted butter, softened
- 1 1/4 cups granulated sugar
- 2 large eggs
- 1 teaspoon vanilla extract
- 1 cup milk
- 2 cups confectioners’ sugar
- 1/4 cup unsalted butter, softened
- 2 tablespoons heavy cream
- 1 teaspoon vanilla extract
- Green food coloring (optional)
- Sprinkles or other decorations (optional)
Instructions:
- Preheat your oven to 350°F (175°C). Grease and flour a 9×13-inch baking pan.
- In a medium bowl, whisk together the flour, baking powder, and salt. Set aside.
- In a large bowl, cream the softened butter and granulated sugar until light and fluffy, about 2-3 minutes. Beat in the eggs one at a time, then stir in the vanilla.
- Add the dry ingredients to the wet ingredients in three parts, alternating with the milk, mixing just until combined after each addition.
- Pour the batter into the prepared baking pan and spread it out evenly.
- Bake for 25-30 minutes, or until a toothpick inserted into the center comes out clean. Allow the cake to cool completely on a wire rack.
With this homemade Little Debbie Christmas Tree Cake recipe, you can enjoy the beloved holiday treat any time of year. Customize the design and decorations to suit your personal style and create a festive centerpiece for your holiday gatherings.
Making the Perfect White Cake Base
Creating the perfect white cake base is key for making tasty holiday treats, like Little Debbie Christmas Tree Cakes. To get it right, focus on your mixing and baking. Pay attention to temperature and timing.
Mixing Techniques for Ideal Texture
To make a light and fluffy white cake, start by creaming butter and sugar until it’s light. Then, add dry ingredients slowly, mixing in wet ingredients in between. This ensures a smooth batter. Don’t overmix, as it can make the cake dense.
Baking Temperature and Timing Tips
For the best holiday cake recipes, bake at 350°F (175°C). This helps the cake rise evenly and stay moist. Watch the time closely, as white cakes can bake too long. Check for doneness after 20-25 minutes with a toothpick or cake tester.
“Baking the perfect white cake base is the foundation for creating delightful easy Christmas baking treats.”
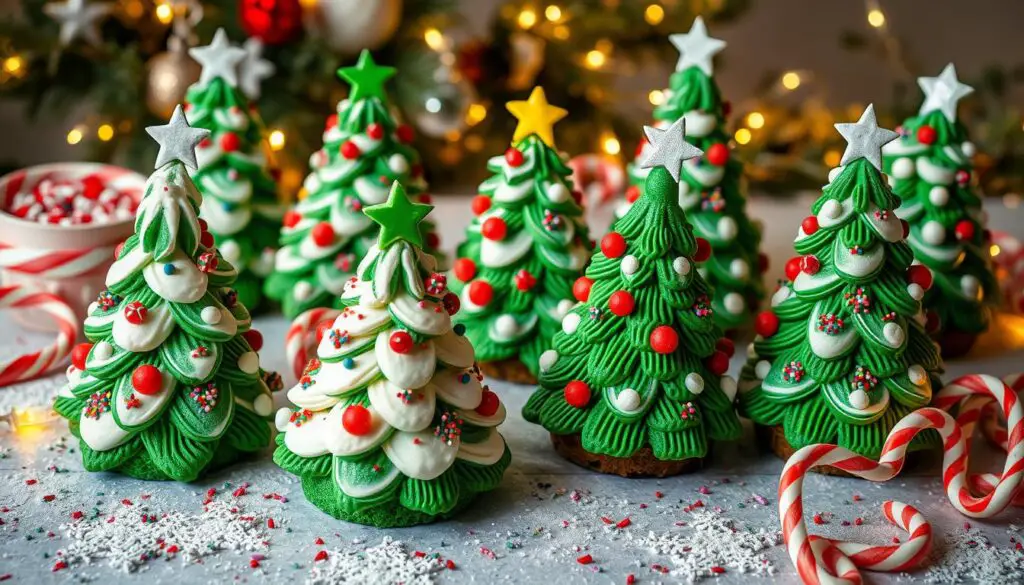
By using these mixing and baking tips, you’ll make a white cake base that’s light and fluffy. It’s ready to be turned into festive holiday treats.
Creating the Signature Cream Filling
Making the rich, creamy filling is key to making Little Debbie holiday treats and snack cakes at home. You need to mix the right ingredients and techniques for the perfect texture.
The filling’s secret is butter, powdered sugar, and vanilla extract. First, cream the butter until it’s fluffy. Then, add the powdered sugar slowly, mixing until smooth. Finish with vanilla for that holiday taste.
To get the right consistency, don’t overmix. Overmixing can make the filling grainy or dense. Instead, fold the ingredients gently. This way, you’ll get a smooth, spreadable filling that goes well with the cake.
| Ingredient | Quantity |
|---|---|
| Unsalted butter, softened | 1 cup (2 sticks) |
| Powdered sugar | 3 cups |
| Vanilla extract | 2 teaspoons |
With this easy yet tasty filling, you’re on your way to making Little Debbie-like holiday treats. They’re sure to impress your family and friends.
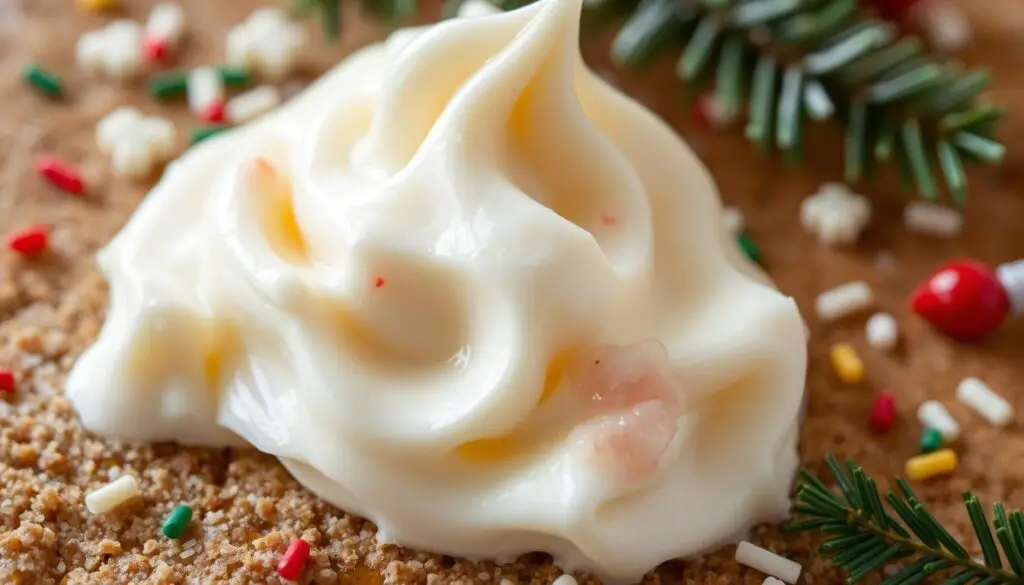
Decorating Techniques for the Tree Shape
Making the perfect homemade Christmas tree cakes is all about decorating. You need to cut your cakes into the tree shape and use special frosting techniques. This will give them the Little Debbie look.
Tree Cutting Template Guide
Start by cutting your cakes into the tree shape with a sharp knife and a template. Cut the cake in half horizontally first. Then, use the top half to guide you in cutting triangular wedges from the bottom half. This will help you get the tiered, tapered design of a Christmas tree cake.
- Prepare a paper template in the shape of a triangle, with the base slightly wider than the top
- Gently press the template onto the cake and use a serrated knife to cut along the edges
- Repeat this process, trimming the bottom half of the cake into graduated tiers
Professional Frosting Tips
Now that your cake is in the tree shape, it’s time for the festive frosting. Use buttercream and royal icing for a smooth, glossy finish. Coat the cake in buttercream first. Then, use royal icing for the patterns and details that make these cakes so appealing.
| Frosting Technique | Description |
|---|---|
| Swirl Technique | Use a piping bag with a star-shaped tip to create a swirling pattern from bottom to top. |
| Dot Detailing | Pipe small dots of royal icing in a playful pattern to mimic sprinkles. |
| Zig-Zag Stripes | Pipe thin lines of royal icing in a zigzag pattern for a modern look. |
By using these decorating techniques, you can make your homemade Christmas tree cakes look like the iconic Little Debbie version. They’ll be perfect for the holiday season.
Storage and Shelf Life Tips
Keeping your homemade Little Debbie Christmas Tree Cakes fresh is key. Store them in an airtight container at room temperature. Don’t refrigerate them, as it can make them dry and lose their softness.
For Little Debbie Christmas Tree Cake recipe Your cakes can last up to 5 days when stored right. But for the best taste, eat them within 3 days. If you have leftovers, freeze them. Wrap each cake in plastic wrap or use a freezer-safe container for up to 2 months.
Proper storage is essential for the perfect texture and taste of your holiday cakes. Follow these tips to enjoy your homemade treats for longer. This way, you can relish the festive flavors of the season.
FAQ
What are Little Debbie Christmas Tree Cakes?
Little Debbie Christmas Tree Cakes are a holiday favorite. They have a white cake base, creamy filling, and green frosting. They’re topped with sprinkles to look like a Christmas tree.
What is the history behind Little Debbie Christmas Tree Cakes?
Introduced in 1985, these cakes are a holiday tradition. They’re known for their nostalgic flavor and festive design.
What ingredients are needed to make homemade Little Debbie Christmas Tree Cakes?
You’ll need white cake, creamy filling, green frosting, and sprinkles. You can use a mix or make the cake from scratch.
What kitchen equipment is necessary for baking and decorating homemade Christmas Tree Cakes?
You’ll need basic baking tools and a tree-shaped cake pan. Decorating tools like piping bags are also essential.
How do you make the perfect white cake base for homemade Christmas Tree Cakes?
Mix butter and sugar well, and don’t overmix the batter. Bake at the right temperature for a moist cake.
How do you create the signature cream filling for Little Debbie Christmas Tree Cakes?
Mix butter, powdered sugar, and vanilla extract for the filling. Chill it to get the right consistency.
How do you decorate homemade Christmas Tree Cakes to look like the Little Debbie version?
Cut the cakes into a tree shape and pipe green frosting. Add sprinkles for the festive look.
How long do homemade Christmas Tree Cakes last, and how should they be stored?
They last 3-5 days at room temperature. Store them in an airtight container to keep them fresh.
