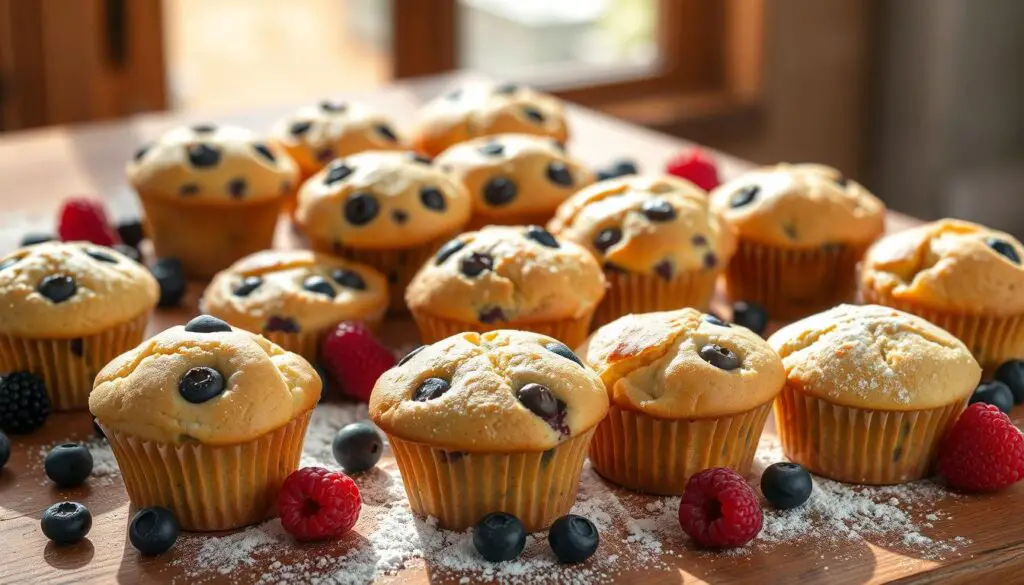
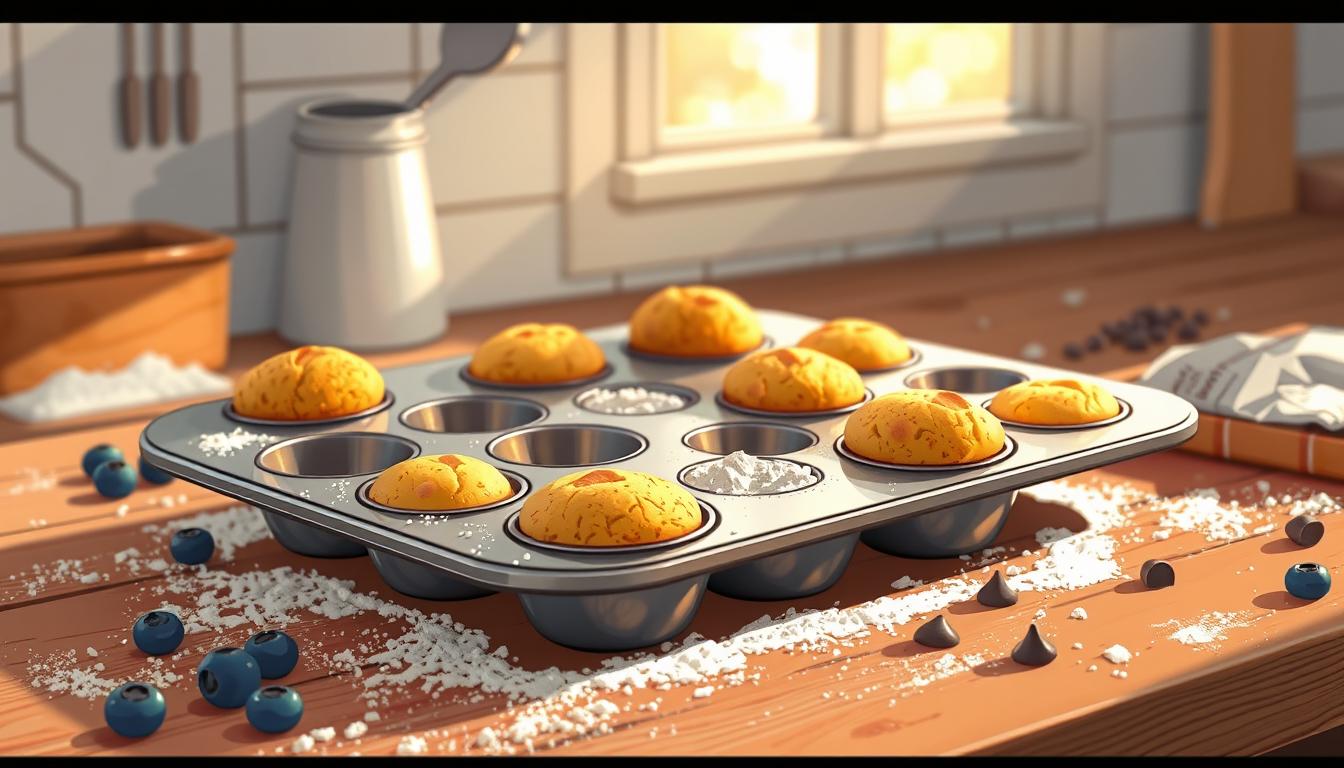
- The perfect mini muffins are just a few steps away! With the right pan, temperature, and timing, you’ll have golden-brown, moist muffins in no time. This guide gives you all the tricks for consistent mini muffin success, whether you’re a seasoned baker or a beginner.
- Now, get ready to bake and wow your taste buds! 🧁
How Long to Bake Mini Muffins Perfect Timing Guide : I love baking mini muffins. The smell of fresh treats in the kitchen is amazing. The golden-brown tops and moist interiors make me happy.
Baking mini muffins is fun, whether for a family event or just for myself. Knowing the right timing and technique is key. In this guide, I’ll share tips for perfect mini muffins, from pan sizes to temperature control.
Let’s start this fun journey together. We’ll learn how to make mini muffins that everyone will love. You’ll become the mini muffin expert in your kitchen!
Table of Contents

Key Takeaways
- Discover the optimal baking times and temperature settings for perfect mini muffins
- Understand the importance of pan specifications and material types
- Learn how to adjust baking time for different batter types and ingredients
- Explore essential equipment and techniques for consistent mini muffin success
- Uncover tips and tricks to avoid common mini muffin baking mistakes
Understanding Mini Muffin Basics and Pan Specifications
Baking mini muffins requires knowing your pan’s details. The size, capacity, and material matter a lot. Knowing these can help you make perfect mini muffins every time.
Standard Mini Muffin Pan Dimensions
A standard mini muffin pan is about 12 inches by 8 inches. Each cup is 1.5 to 2 inches wide and 1 to 1.5 inches deep. This size is great for making small muffins that are perfect for snacks or parties.
Capacity and Number of Servings
Most mini muffin pans hold 12 to 24 cups. This lets you bake a big batch of mini muffins at once. It’s perfect for parties or trying out different flavors.
Material Types and Their Impact
Mini muffin pans are made from different materials. Non-stick metal pans are popular for even heat and easy muffin release. Silicone pans are also good, with a flexible, easy-to-clean surface. The material you pick can change how your muffins turn out.
Knowing about mini muffin pan specs helps you pick the best one. This ensures your mini muffins are always the right size, shape, and texture.
Perfect Temperature Settings for Mini Muffin Baking
To make perfect mini muffins, you need to control the temperature well. Mini muffins bake better at a higher temperature than regular muffins. This ensures they are evenly baked and have a great texture.
For mini muffins, set your oven to 375°F (190°C). This temperature is just right. It makes the outside golden and keeps the inside soft and fluffy.
But, the best temperature can change based on your recipe. For example, if your recipe has fresh fruit or chocolate chips, use 350°F (175°C). This helps avoid overbrowning or drying out.
Always watch your mini muffins while they bake. Their small size means they can quickly go from perfect to dry. Use a timer and check them often to get the ideal mini muffin oven temperature and perfect baking time.
“The secret to perfect mini muffins is finding the sweet spot between a crisp golden top and a moist, fluffy interior. With a little experimentation, you’ll be baking like a pro in no time.”
How Long to Bake Mini Muffins: Complete Time Guide
Baking the perfect mini muffins is about finding the right time and temperature. Whether you’re making classic vanilla or trying new flavors, knowing the best baking time is essential. This ensures your mini muffins always turn out delicious.
Basic Batter Types and Their Timing
The baking time for mini muffins changes based on the batter type. Here’s a general guide:
- Basic muffin batter (e.g., vanilla, chocolate, blueberry) – 12 to 15 minutes
- Heavier batters with dense ingredients (e.g., banana, carrot, zucchini) – 15 to 18 minutes
- Lighter, airy batters (e.g., angel food cake) – 10 to 12 minutes
Adjusting Time for Different Ingredients
The ingredients in your mini muffin recipe also affect baking time. Adding moist ingredients like fruit or nuts may need a bit longer baking. On the other hand, drier ingredients like nuts or whole grains might bake faster.
High Altitude Baking Considerations
Baking mini muffins at high altitudes requires adjustments. Increase the oven temperature by 25°F and reduce baking time by 2-5 minutes. This helps prevent over-browning or dryness.
Understanding what affects mini muffin baking times helps you make perfect treats. Try different recipes and oven settings to find your favorite mini muffin style.
Essential Equipment for Mini Muffin Success
Baking mini muffins needs the right tools. To get great results, you need a few key items. This includes the perfect mini muffin pan size and essential measuring tools. Let’s look at what you need for baking mini muffins.
The Mini Muffin Pan
The pan is key for baking mini muffins. Choose a high-quality mini muffin pan with non-stick cups. It should have 24 to 36 cups, each holding 2-3 tablespoons of batter. A sturdy, heavy-duty metal pan ensures even heat for perfect muffins.
Measuring Tools
- Dry measuring cups and spoons: They help you measure your mini muffin recipe ingredients right.
- Liquid measuring cup: It’s vital for measuring wet ingredients like milk, oil, and eggs accurately.
- Digital kitchen scale: This is a must for weighing dry ingredients like flour, sugar, and butter for consistent results.
Mixing Equipment
- Large mixing bowl: It gives you enough space to mix your muffin batter without spills.
- Whisk or hand mixer: They help you mix ingredients well and fast.
- Rubber spatula: It’s key for scraping the bowl’s sides and making sure all ingredients mix well.

“The right tools can make all the difference in the kitchen, especialy when baking. Invest in quality equipment for your mini muffin endeavors, and you’ll be rewarded with consistently impressive results.”
Preparing Your Mini Muffin Pan for Optimal Results
Getting your mini muffin pan ready is key to baking perfect mini muffins. It doesn’t matter if you have a standard mini muffin tin capacity or a special pan. The secret to success is in how you prepare your baking surface.
Greasing Methods
To make sure your mini muffins come out without sticking, you need to grease the cups well. You can choose from a few methods:
- Butter or non-stick cooking spray
- Vegetable oil or shortening
- Baking-specific non-stick coatings
Make sure to grease every part of the cup, including the sides and bottom. This will help prevent sticking.
Using Liners vs Direct Pan Baking
You can also use paper or silicone mini muffin liners. They help protect the pan and make the muffins easier to remove. But, baking directly in the greased pan can give you a crisper exterior and more even mini muffin baking time. Think about your recipe and what you want when deciding between liners and direct pan baking.
| Liners | Direct Pan Baking |
|---|---|
| Easier release | Crisper exterior |
| Less mess | More even baking |
| Added cost | Requires thorough greasing |
Choose the method that works best for you to get the best results from your mini muffin pan.
Signs of Perfectly Baked Mini Muffins
Getting your mini muffins just right is key for the perfect taste and texture. To check if they’re done, look for these signs:
- Tops should be lightly golden brown, not too pale or too dark.
- Gently press the top of a muffin – it should spring back slightly, not feel dense.
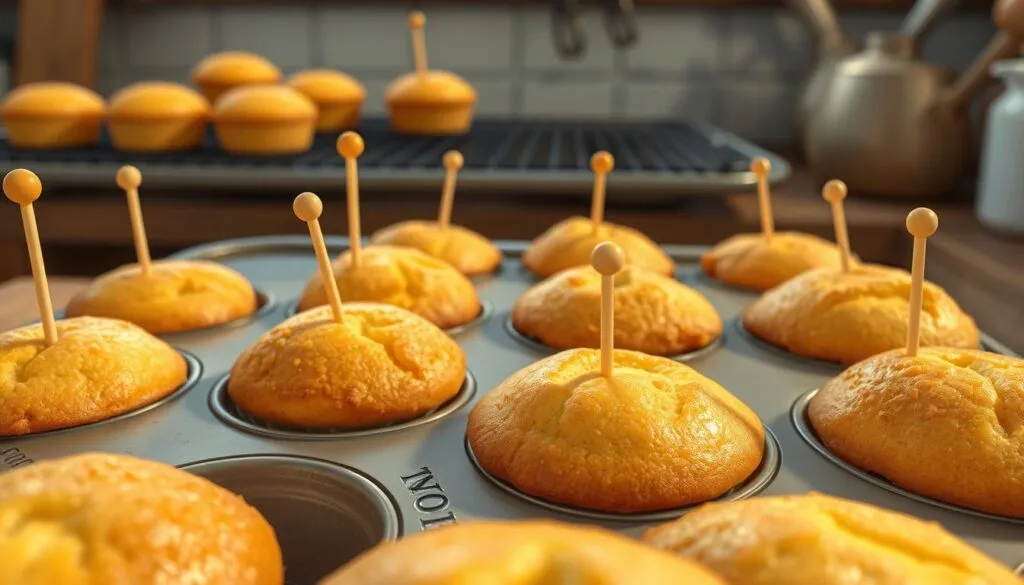
- A mini muffin doneness test can be done by inserting a toothpick or cake tester into the center. If it comes out clean, with no wet batter, they’re ready.
The ideal bake time for mini muffins can change based on the recipe, ingredients, and oven. Generally, mini muffins bake for 10-12 minutes in a hot oven. But, always watch them closely and adjust the time if needed.
| Muffin Size | Bake Time (at 400°F) |
|---|---|
| Standard Muffin | 18-22 minutes |
| Mini Muffin | 10-12 minutes |
By remembering these signs, you can make sure your mini muffins are perfectly baked. They’ll have a great texture and taste that everyone will love.

Common Mini Muffin Baking Mistakes to Avoid
Baking perfect mini muffins needs careful attention. Avoid these common mistakes to make sure your mini muffins are always perfect.
Temperature-Related Issues
Keeping the right oven temperature is key. Baking too hot can make the outside brown before the inside is done. This leads to uneven texture and dryness. On the other hand, baking too cold can make muffins dense and undercooked.
Use an oven thermometer to check your oven’s temperature. This helps you adjust as needed.
Filling and Portioning Errors
Putting too much batter in mini muffin cups can spill over. This makes the muffins irregular and uneven. Not enough batter results in small, dense muffins.
Use a portion scoop or spoon to measure the batter. Fill each cup about two-thirds full.
Timing Mishaps
Baking mini muffins for too long can dry them out. Baking them too short makes them gummy and uncooked. Watch the time closely and check for doneness a few minutes early.
The muffins should spring back when touched. A toothpick inserted into the center should come out clean.
Mastering these common mini muffin baking techniques will help you make consistently delicious and perfectly baked mini muffins.
Tips for Achieving Consistent Mini Muffin Results
Baking perfect mini muffins is a fun challenge. With the right techniques, you can get great results every time. Whether you’re making a classic mini muffin recipe or trying new flavors, these tips will help you become a pro.
Start by checking your batter’s consistency. A smooth batter ensures your mini muffins will rise and bake evenly. Make sure to mix your ingredients well, but avoid overmixing to prevent tough muffins.
- Use room temperature ingredients for the best results. This helps the batter come together seamlessly.
- Scoop the batter into the prepared muffin tin using a small ice cream scoop or spoon, filling each cup about three-quarters full.
- Tap the filled muffin tin on the counter a few times to help the batter settle and eliminate any air pockets.
When baking mini muffins, follow the recipe’s baking time. But, be ready to adjust it if needed. Mini muffins bake fast, so watch them closely. Use the toothpick test to check if they’re done.
“The key to consistent mini muffin results is attention to detail and a willingness to experiment until you find the perfect baking time and temperature for your recipe and equipment.”
Lastly, don’t hesitate to try different pans, liners, and baking methods. With practice and these tips, you’ll soon be making perfectly baked mini muffins.
Storing and Preserving Your Mini Muffins
Baking delicious mini muffins is just the start. Keeping them fresh and tasty is key. Knowing how to store them right is important. This way, you can enjoy them for a quick snack or save them for later.
Short-Term Storage Solutions
For a few days, use an airtight container or a resealable plastic bag. This keeps moisture in and prevents drying. Store them at room temperature, away from sunlight or heat, for up to 3-4 days.
Freezing Guidelines
Freezing is great for keeping mini muffin recipe fresh longer. Cool the muffins first, then freeze them in a single layer on a baking sheet. Once frozen, put them in an airtight container or freezer-safe bag. They stay fresh for up to 3 months. To enjoy, thaw at room temperature or reheat in the oven for a few minutes.
| Storage Method | Estimated Shelf Life |
|---|---|
| Room Temperature (airtight container) | 3-4 days |
| Frozen (airtight container) | Up to 3 months |
Mastering mini muffin bake duration and storage keeps your homemade mini muffins fresh. They’ll be ready to enjoy whenever you want.
Troubleshooting Common Mini Muffin Problems
Baking perfect mini muffins is a fun challenge. But, even experienced bakers face common issues. Don’t worry, with the right tips, you can solve these problems and get great results every time.
Uneven Baking
Uneven mini muffins might be due to an unbalanced oven temperature. Make sure your oven is set right. Also, try rotating the pan halfway through baking to ensure even cooking.
Overflowing Batter
Too much batter in the cups can cause a mess. To avoid this, fill each cup only three-quarters full. This lets the batter rise without overflowing.
Dry or Dense Texture
Mini muffins can dry out if baked too long. Watch the clock closely and use the toothpick test to avoid overcooking. Also, check your recipe’s balance of ingredients. Too much flour or not enough fat can make them dense.
| Common Issue | Possible Causes | Solutions |
|---|---|---|
| Uneven Baking | – Uneven oven temperature – Poorly distributed heat | – Calibrate oven – Rotate pan halfway through baking |
| Overflowing Batter | – Overfilling cups | – Fill cups no more than 3/4 full |
| Dry or Dense Texture | – Overbaking – Incorrect recipe ratios | – Use toothpick test – Adjust ingredient amounts |
By tackling these common mini muffin issues, you’ll bake perfect batches every time. Always watch the mini muffin baking time and mini muffin doneness test. And don’t hesitate to tweak your recipe until it’s just right.
Creative Variations and Recipe Adaptations
Take your mini muffin game to the next level with creative variations and recipe adaptations. You can try savory delights or unique flavor combinations. Adjust baking times and temperatures for different ingredients and bold flavors.
Explore beyond sweet mini muffins and try savory ones. Imagine the smell of cheddar and chive mini muffins or roasted garlic and Parmesan ones. Adjust baking to get the right texture and flavor.
Let your creativity shine and make mini muffins that are yours. Add fresh fruits, nuts, or chocolate chips for extra flavor. Try spices, herbs, and extracts for unique tastes. With some trial and error, you’ll find the perfect baking time and temperature for your creations.
FAQ
How long should I bake mini muffins?
Mini muffins bake for 10 to 15 minutes. This time can change based on the recipe and oven. Always check with a toothpick to see if they’re done.
What is the ideal oven temperature for baking mini muffins?
The best oven temperature for mini muffins is 375°F to 400°F. This ensures they bake evenly and get a golden top.
How do I know when mini muffins are done baking?
Check if a toothpick comes out clean from the muffin’s center. The muffin tops should also be golden and springy when pressed.
What size mini muffin pan should I use?
Use a standard mini muffin pan with 24 cups. Each cup is about 1.25 inches wide and 0.75 inches deep. This size makes classic mini muffins.
How many mini muffins does a single recipe make?
A single recipe makes 24 to 36 mini muffins. This depends on the batter and pan size.
Should I use liners or grease the mini muffin pan?
You can use liners or grease the pan. Liners make muffins easy to remove and look uniform. Greasing with spray or butter works too, but be careful when removing.

1 Comment